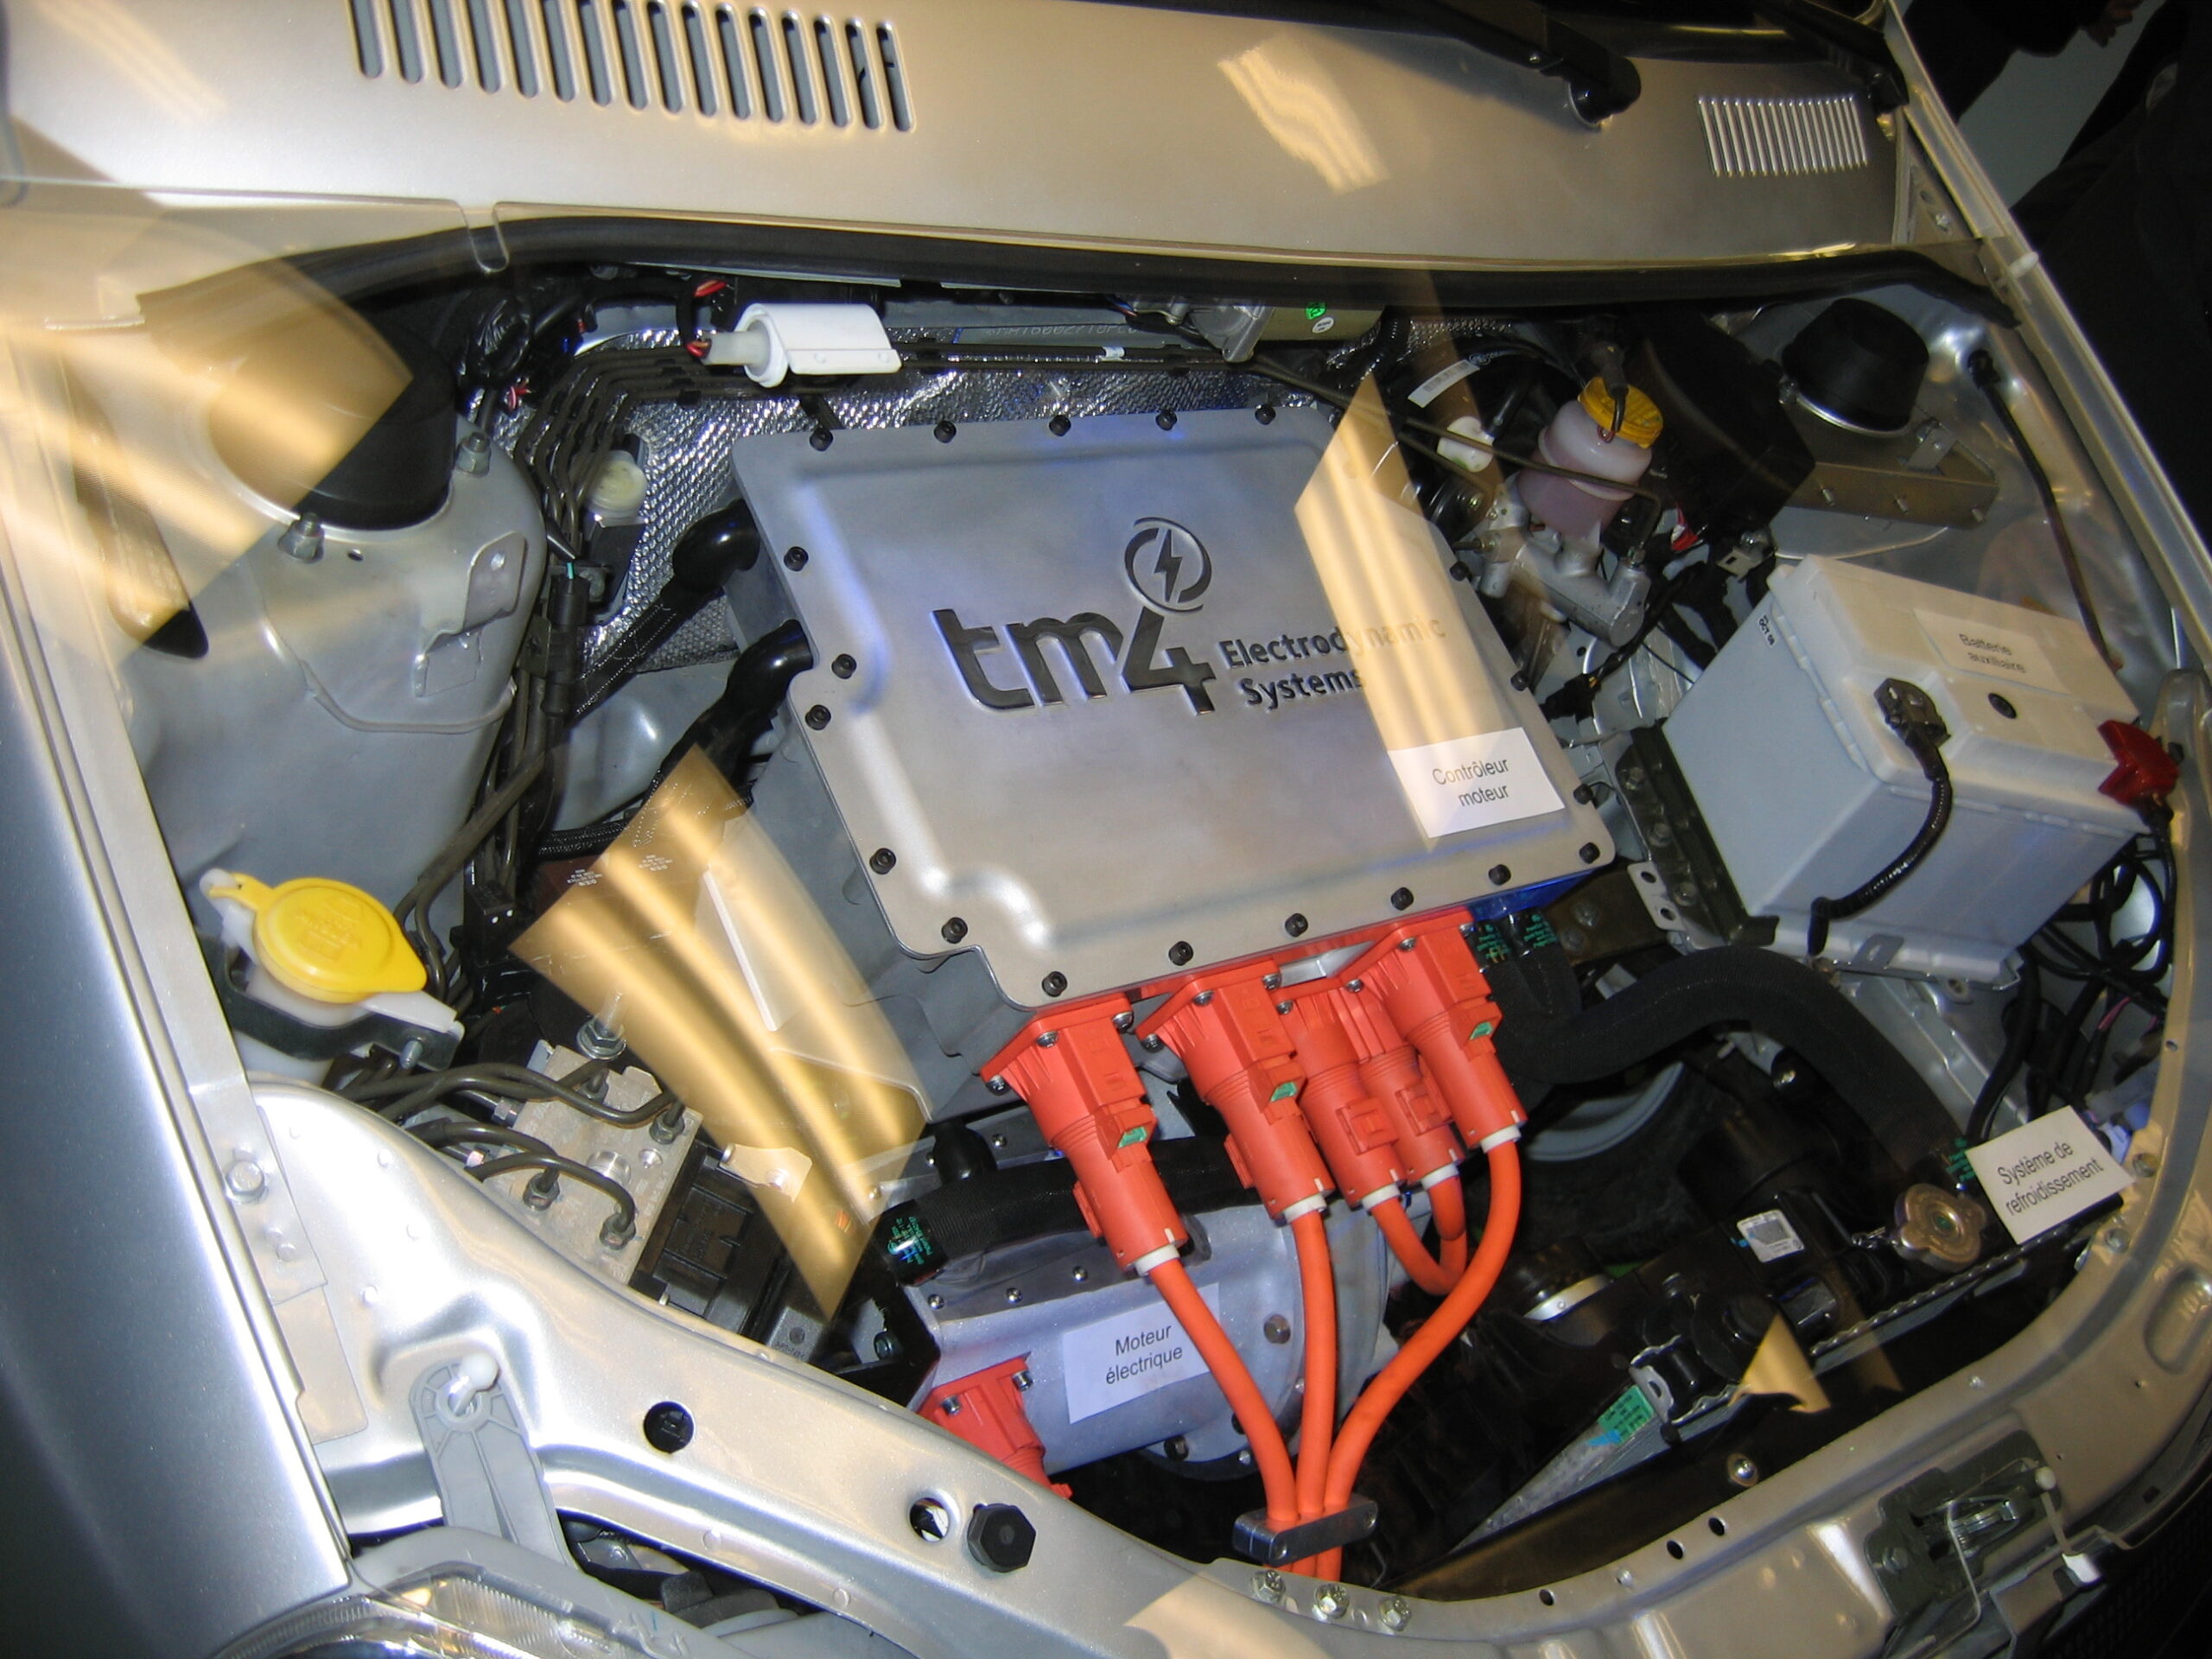
Electric car motors are sophisticated components designed to convert electrical energy into mechanical motion. These motors are generally durable and require minimal maintenance compared to internal combustion engines. However, issues can still arise, such as reduced power output, unusual noises, or erratic performance. Understanding the basics of your electric motor is crucial before attempting any repairs.
Safety Precautions
Before you start any repair work on your electric car motor, prioritize safety. Electric car motors operate at high voltages, which can be dangerous if mishandled. Always disconnect the battery and follow proper safety protocols, including wearing gloves and safety goggles. Ensure your workspace is clean and free from any conductive materials. If you’re unsure about any step, consult the vehicle’s manual or seek professional advice.
Diagnosing Motor Issues
To repair an electric car motor, first diagnose the problem. Common issues include a loss of power, strange noises, or overheating. Use a diagnostic tool to check for error codes and monitor the motor’s performance. Listen for any abnormal sounds, such as grinding or whirring, which could indicate mechanical issues. Inspect the motor for visible signs of damage, such as loose connections or damaged wiring.
Gathering Tools and Materials
Before starting the repair, gather the necessary tools and materials. You’ll need basic hand tools like wrenches and screwdrivers, as well as specialized equipment such as a multimeter for electrical testing. Have replacement parts on hand if needed, including motor brushes or bearings. Ensure you have a clean and organized workspace to keep track of small parts and components.
Removing the Motor
To repair the motor, you’ll need to remove it from the vehicle. This process can vary depending on the make and model of your electric car. Generally, you’ll need to disconnect the motor from its mounts and remove any associated wiring and connectors. Carefully lift the motor out of its compartment, taking care not to damage any surrounding components. Make a note of how everything is connected for easier reassembly.
Inspecting the Motor
With the motor removed, inspect it for any signs of damage. Check for worn or damaged motor brushes, bearings, or electrical connections. Look for any visible signs of overheating, such as discoloration or melting of components. Use a multimeter to test the continuity of the motor windings and check for any short circuits or open circuits.
Repairing or Replacing Components
Based on your inspection, you may need to repair or replace specific components of the motor. If the motor brushes are worn, replace them with new ones. If the bearings are damaged, they will need to be replaced as well. For electrical issues, check and repair any faulty wiring or connections. If the motor windings are damaged, you may need to consult a professional for a more in-depth repair or replacement.
Reassembling the Motor
After repairing or replacing any faulty components, reassemble the motor. Carefully reinstall all parts, ensuring that everything is aligned and secured properly. Reconnect any wiring and connectors, following the notes you made during the removal process. Double-check that all connections are secure and that there are no loose or disconnected wires.
Testing the Motor
Before reinstalling the motor, it’s important to test it to ensure that it’s functioning correctly. Reconnect the motor to the vehicle’s electrical system and perform a test run. Monitor the motor for any unusual behavior, such as excessive noise or vibration. Check the motor’s performance to ensure it’s delivering the expected power and efficiency.
Reinstalling the Motor
Once you’re satisfied that the motor is functioning properly, reinstall it in your vehicle. Secure it in place and reconnect all wiring and connectors. Make sure that everything is properly aligned and that there are no loose connections. Test the vehicle to ensure that the motor is operating normally and that the issues have been resolved.
Maintaining Your Motor
Regular maintenance is key to ensuring the longevity and performance of your electric car motor. Keep the motor clean and free from debris, and regularly check for any signs of wear or damage. Follow the manufacturer’s recommendations for maintenance and address any issues promptly to prevent more serious problems from developing.
When to Seek Professional Help
While DIY repairs can be effective, there are times when professional help is necessary. If you’re unsure about any aspect of the repair process or if the motor is extensively damaged, consult with a qualified technician. Professional repair services can provide expert guidance and ensure that your motor is repaired safely and effectively.
Conclusion
Repairing an electric car motor yourself can be a challenging but rewarding task. By following the proper procedures and taking necessary safety precautions, you can address common motor issues and extend the life of your vehicle. Always remember that when in doubt, professional help is available to ensure your electric car remains in optimal condition.


